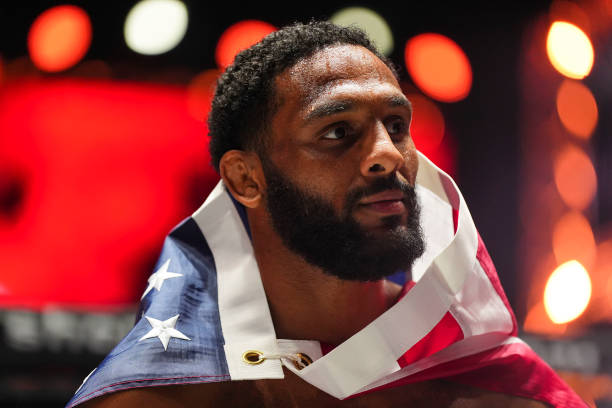
Terence Crawford Knocks Out Shawn Porter – Highlights
The epic showdown between Terence Crawford and Shawn Porter is finally here. Let’s see how things played out.
Round 1:
The fight begins with Porter coming right out and throwing a big combination as the two met in the middle of the ring. Crawford is economic with his punches in these opening minutes. Porter is much more aggressive, and Crawford is bobbing and weaving through his punches.
Round 2:
Porter is continuing to be the aggressor and is landing body shots. Crawford remains patient and is thinking out his combinations. Porter counters a Crawford right hook by throwing a straight right that knocks Crawford back. Crawford responds by landing a big right hand, but Porter responds with a left hook that briefly stuns Crawford. Crawford lands a stiff left hook to the body as the round ends.
Round 3:
Crawford opens up in a southpaw stance and Porter is tending to reach and lunge with his punches. Crawford throws a lead uppercut that nearly lands clean. The action picks up as Porter and Crawford throw big bombs in the middle of the ring. A possible clash of heads is passed up by the referee and action resumes. Porter has a noticeable cut above his right eye. Crawford gets the clinch as the round draws to a close.
Round 4:
Porter opens in a southpaw stance and lands a stiff right hook that catches Crawford clean. But, Crawford is beginning to find his range with the left hand. Porter throws a 1-2 combination and lands a right hand, Crawford reacts with a smile. Crawford is opening up his game and landing some big shots underneath to the body.
Round 5:
Porter continues to fight at a virtually perfect pace and forces Crawford to cover up. Despite eating some big hooks, Crawford smiles and brushes off Porter’s advances. Crawford gets in range near the end of the round and gets Porter up against the ropes.
Round 6:
The pace begins to pick up between Crawford and Porter. Porter appears to be the more aggressive but Crawford is landing at a higher rate, specifically to the body. Halfway through the round, a clash of heads causes a brief stoppage and the fight resumes. Porter is confusing Crawford with his lead hook combinations.
Round 7:
Porter’s athleticism continues to give Crawford issues, but Crawford is eating the shots on the ropes well and is countering with big shots. Crawford gets the fight back to the center of the ring and lands some hard lead left hooks to the head. Porter appears to not like those left hooks and covers up as the round ends.
Round 8:
The round opens up with a torrid pace from both men. Crawford and Porter are both sharpshooting in the pocket, but Crawford is landing the bigger volume. Crawford just misses with a big left hand inside that Porter barely evades. With a minute left, Porter finds a home for the right hand to the head and Crawford counters with combinations to the body.
Round 9:
Crawford is starting to find a home for his patented right jab as the round opens up. Porter’s left eye is starting to swell as Crawford’s movement remains evasive. Porter’s pace is starting to slow down as Crawford presses forward and lands some hard body shots.
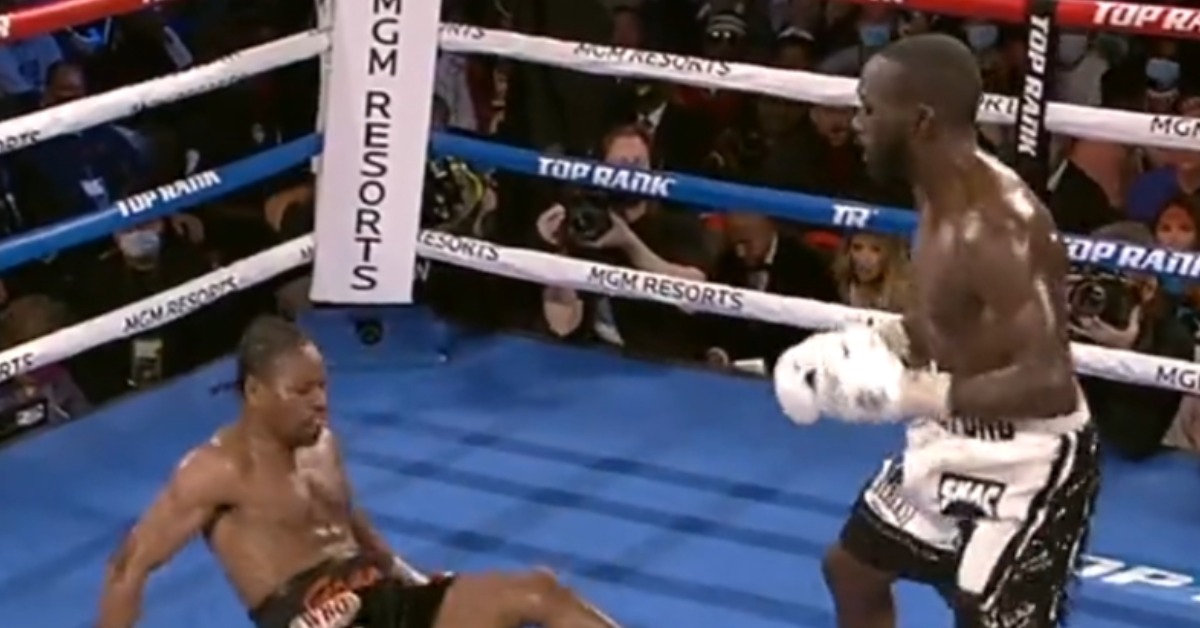
Round 10:
Crawford lands the first knockdown of the fight with a stiff left hook that drops Porter. The fight resumes after a six-count but Crawford lands a beautiful combination that lands consecutive shots to the head. Remarkably, Porter’s corner throws in the towel and the fight is stopped.
OFFICIAL RESULT: Crawford by 10th-round knockout
Check out the highlights from the epic Crawford vs. Porter boxing showcase.